[Episode 1] Billboard Island

After agreeing to help Raz, Acarno finds himself at Billboard Island ready to infiltrate the building and obtain the Pagoda Map.

[Episode 1] Billboard Island

Summary

After agreeing to help Raz, Acarno finds himself at Billboard Island ready to infiltrate the building and obtain the Pagoda Map.

There are several ways to successfully break into Billboard Island – in this section of the walkthrough we’re going to cover one route that takes you through the entire level, without missing any rooms or items.

Episode Sections

Video

Before going any further, access your inventory and on the “equipment” tab scroll down to the GRAVITY CONTROLLER. Select “Turn on the switch”, which enables Acarno to jump higher and further, making life much easier – it is a good idea to keep it switched on throughout the entire game.

In front of you are two red and black ledges. Facing them, jump on the ledge to Acarno’s right and pickup the MAGAZINE CARTRIDGE.

Item; The MAGAZINE CARTRIDGE is easy to spot.

There are some items to collect in the water, so prepare to learn how to swim. 

Jump in and once you have your bearings head to the seabed and by completing a lap of the illuminated island whilst hugging it’s wall you will pickup 40 CREDITS, 50 CREDITS and 50 CREDITS. There is a further 100 CREDITS on the seabed which is a few meters away from the island’s wall and is easy to spot. Be sure to keep an eye on the blue air meter (under your health bar on the top-right of the screen), returning to the surface to replenish when needed.

After the underwater items have been collected, there are two further items to collect – one on top of each of the two signboards attached to either side of the island. Use the HOOK SHOT (on the “Equipment” tab within your inventory) as instructed below;

Step 1; While facing either of the illuminated signboards (in the water at surface level), access your inventory and use the HOOK SHOT. Be careful to aim for the area just above the signboard, and not the roof of the island - we'll be heading up there later.
Step 2; Pickup the GEO STONE on top of the signboard.

Jump back into the water, swim around to the opposite side of the island and use the HOOK SHOT again on the second signboard to collect a second GEO STONE.

Jump back into the water, and once again hug the island – this time just above the seabed. You will come across a large shutter door with a red switch to its left.

Switch; Interact with the big red switch (left) to gain entry to the large shutter door (right).

Swimming into the next room, ignore the items in the water for now and head Acarno’s left. Climb out of the water using the ladder on the side of the submarine. The sharks shouldn’t trouble you too much if you swim quickly enough.

Climb to the top of the ladder and pickup the items on top of the submarine.

Item; At the top of the ladder and pickup 3 HEAT PACKS in front of you.
Item; Continue up the submarine and pickup 2 FREEZE PACKS.

Turn to face the moving platform and follow the steps below to collect some more items;

Step 1; Face the moving platform and when it's close, make the jump across.
Step 2; On the moving platform, face the end of the room which you entered via the shutter doors, and prepare to jump onto the metal beam in front of you overhead.
Step 3; Make your way to end of the beam and pick up 15 GRENADES. Then turn around and head all the way along the beam.
Step 4; At the opposite end of the beam pickup 500 CREDITS. Facing the wall, drop from the beam off the left-hand side.
Step 5; Now on the platform below the beam, head towards the shutter end of the room and pickup 5 TIME BOMBS.
Step 6; Turn to face the submarine and head all the way around the platform which overlooks the water and pickup the EMERGENCY SPRAY.

Now all of the items have been collected, face towards the water and approach the edge of the platform. Throw the HEAT PACK into the water and (providing your aim wasn’t terrible) the water will evaporate, causing the submarine to drop to the floor.

Jump across to the submarine and climb up to it’s highest point. You’ll notice the hatch is now open. Enter the sub by simply dropping in.

Submarine hatch; Drop inside.

Inside the submarine equip the ANTIQUE GUN and turn to face the opposite end of the sub to where you entered. Prepare to take on the robot ahead.

Robot inside the submarine; There are a few of these guys on Billboard Island. They are fairly slow and clunky, and can only see you if you step into their red spotlight or if you use a weapon against them.

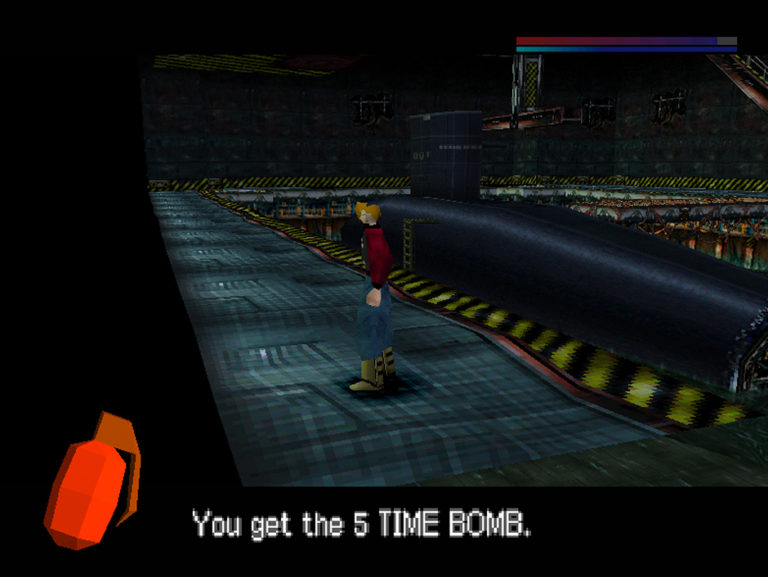
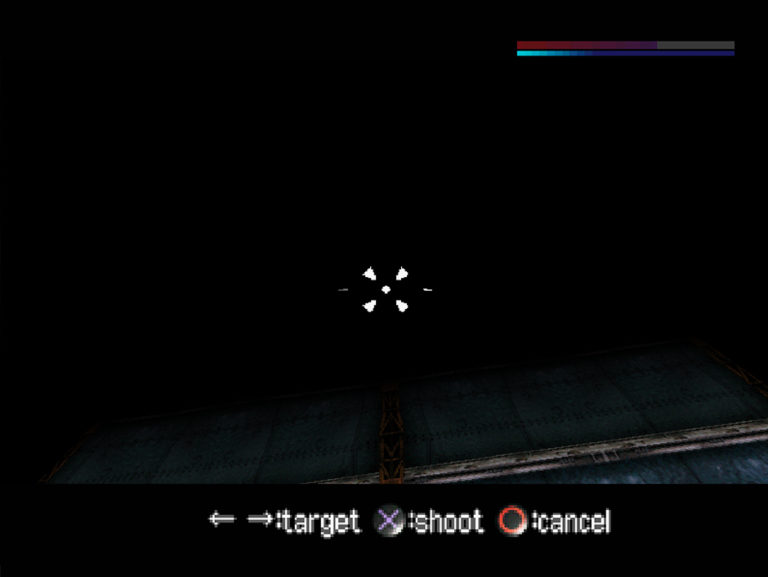
Taking them out from a distance is easy enough with a few bullets, although bombs are just as effective if you're low on ammo. Better yet, avoiding them altogether is fairly easy in open spaces - although the submarine is too narrow for this.
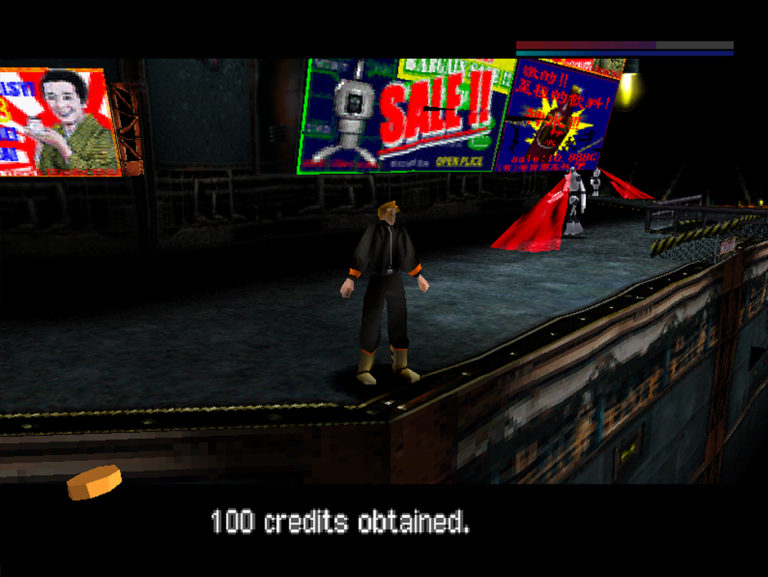
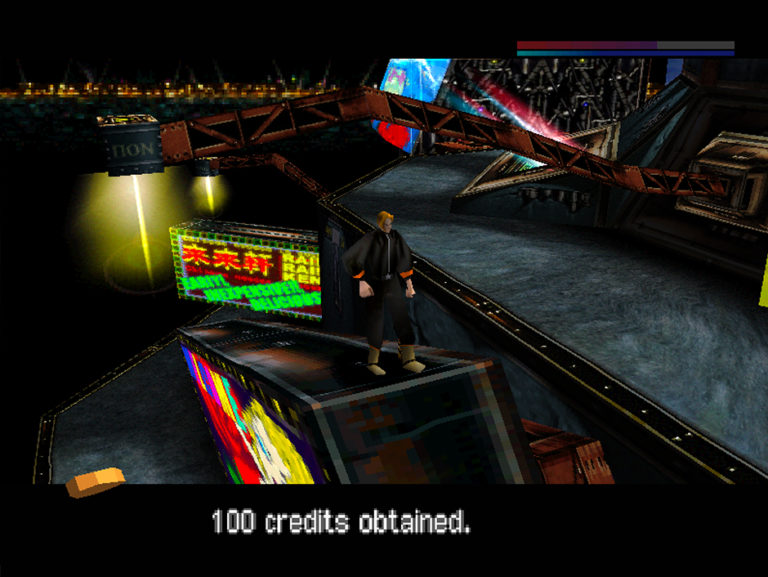
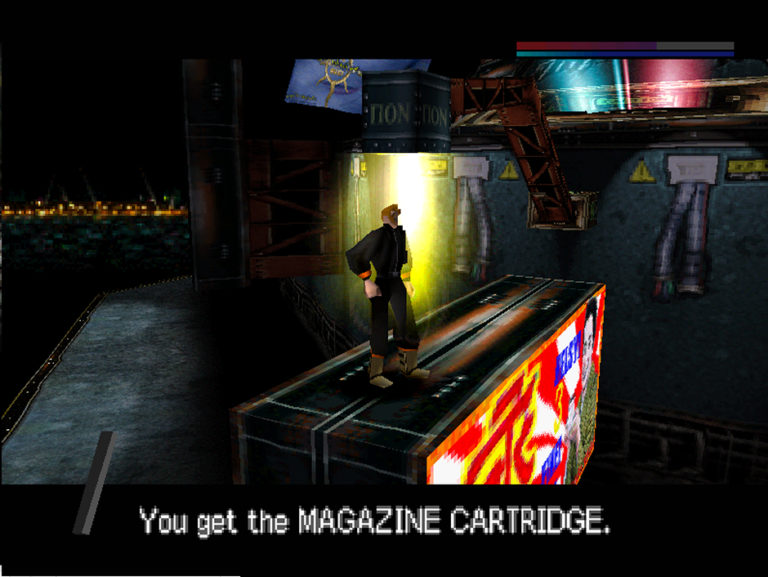
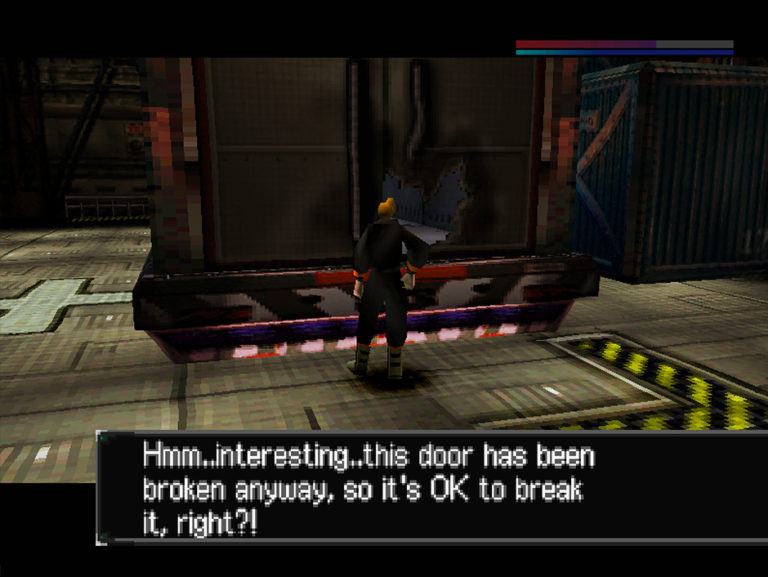
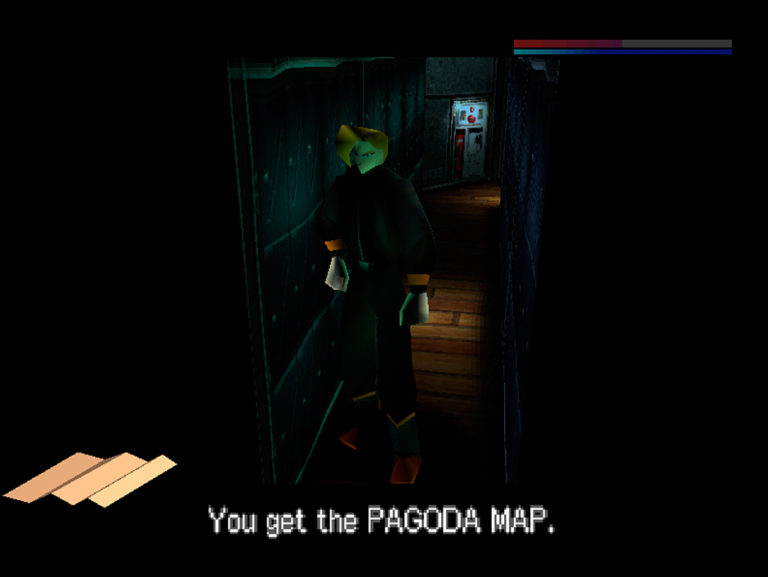
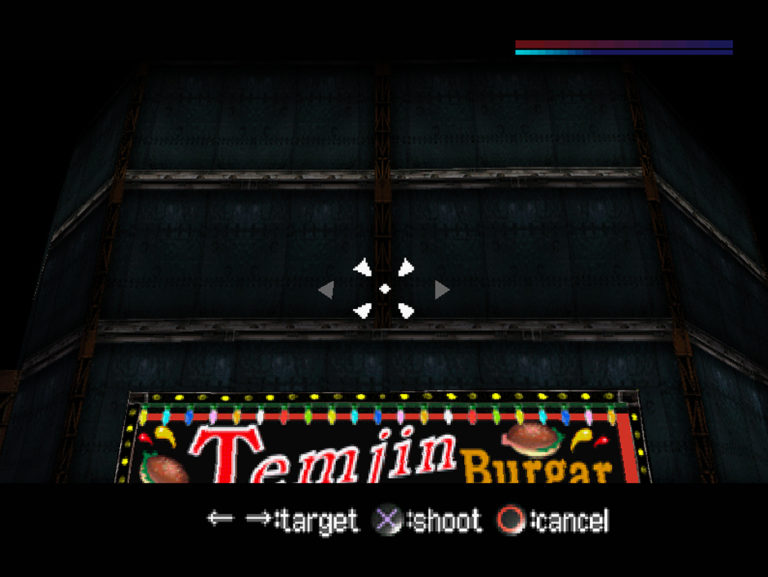
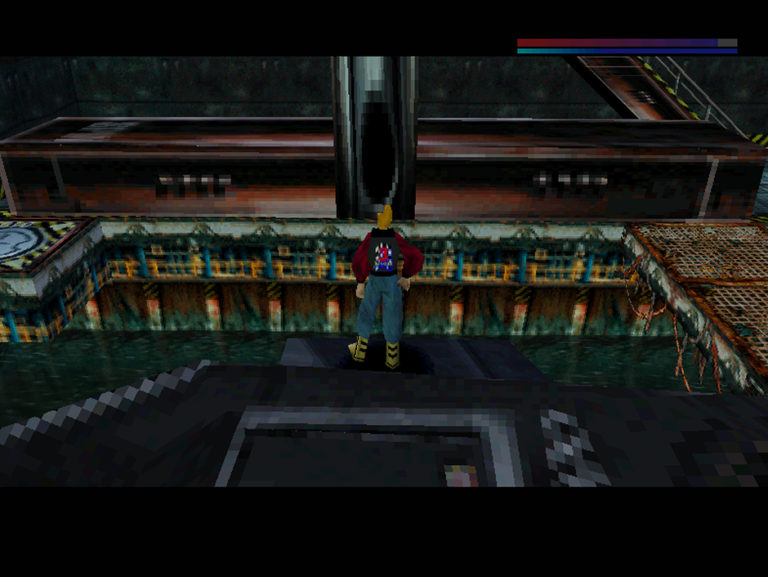
Once you’ve taken care of the robot, collect the 500 CREDITS, GOLD KEY CARD and WET SUIT he was guarding. Exit the sub via the ladder.

Put on the WET SUIT (which allows you to swim faster) via the “Clothing” tab in your inventory and jump into the water and collect the 5 and 10 CREDITS at opposite ends of the water bed – the benefits of the WET SUIT should allow you to collect the items and escape relatively unharmed. Swim back outside through the same shutter you initially used to entered the room.

Once through the shutter and back outside, head to the waters surface and swim around to the opposite side of the island and climb out so that you are stood on the platform you initially arrived at. Facing the island, use the HOOK SHOT and aim for the roof.

Accessing the roof on Billboard Island; Use the HOOK SHOT.

Note that there are more robots (identical to the one encountered inside the submarine earlier) scattered about the roof – avoid their visible red line of sight and they won’t bother you.

When you land on the roof you will be facing a large door, in front of which you can pickup 50 CREDITS and 5 MAGAZINE CARTRIDGES. Don’t bother with the locked door as it cannot be opened. There are a few items spread around the roof to collect before you go any further – these require some patient jumping around and rotating of the camera.

Turn so that Acarno’s back is facing the door you just picked up the items in front of, and head right. You will come to a set of stairs with a guard rail next to it – remember this location, but proceed past and pickup 100 CREDITS on the platform edge.

Item; Don't accidently fall when collecting the 100 CREDITS.

Continuing around the roof you’ll come to an electronic sign which is low enough to jump on – see below;

Step 1; Jump climb up onto the sign.
Step 2; Climb onto the red metal beam ahead.
Step 3; Make your way to the higher end of the angled sign and pickup 100 CREDITS.

Turn to face the building and jump to the flat grey surface. Still facing the building, turn left and follow the roof around for a few steps and you will see an illuminated signboard underneath a yellow light which protrudes from the building. Carefully drop down and make your way to the end of the sign for another item.

Item; The MAGAZINE CARTRIDGE is not the easiest item to spot.

Spin around to face the building and make your way back up to the roof. Continue around the roof until you come to a small opening on Acarno’s right.

Item; The EMERGENCY SPRAY requires less jumping around to find.

Continue heading around the roof and you will notice another item towards the edge of the platform – 150 CREDITS.

Item; To get the 150 CREDITS simply drop onto the short ledge.

Climb back up onto the roof and continue walking around and you will find another EMERGENCY SPRAY.

Item; The EMERGENCY SPRAY is on the ground underneath the overhead canopy.

Now that you’ve collected all of the items on the roof, make your way back to the stairs we passed on the lower level of the roof earlier. There are various parts attached to the walls to help you navigate your way back down safely.

Stairs; Time to head back inside Billboard Island.

Once inside, head to the bottom of the stairs and turn right. Exploring the room will trigger a prompt from Acarno, identifying the Control Room.

The Control Room; Your next destination.

Make your way up to the Control Room by jumping on the crates underneath, then jumping up again to the platform attached to the Control Room’s doorway. There is an item on the floor inside the Control Room.

Item; Pick up the MAGAZINE CARTRIDGE on the floor.

Head over to the control panel in front of the window. Interact with them once, causing several crates to move on the floor below. Interact with the control panel for a second time to make a single crate move just slightly, revealing another item on the ground.

If you are aiming for maximum CP in order to try and access the hidden bonus Episode, shoot out the glass windows above the control panel.

Exit the Control Room and carefully make your way back to the ground to retrieve the 100 CREDITS you can now pick up after moving the crates. Make your way to the rear of the vehicle in the middle of the room and you’ll notice it’s trailer door has sustained some damage – examine the door for another in-game prompt.

Trailer door; Here is where to examine.

As you may have guessed, you need to blow the doors off using a single bomb. Access the inventory and select your explosive of choice – just ensure you are out of the way during detonation. Enter the trailer and pickup 10 GRENADES, an ENERGY PACK and 2 SWITCH BOMBS

Exit the trailer and make your way around to the cabin at the front of the vehicle. Equip the ANTIQUE GUN and fire a single shot into the glass on the side of the cabin. Jump inside and collect the 50 CREDITS. The other windows can be shot out for extra CP.

Exit the cabin and climb on top of the two touching crates which are located against the opposite wall of the room to the Control Room. On the ledge you will see an item to collect.

Item; 20 CREDITS can be found in-between the two cylinders.

Drop carefully back down to the floor and head through the big red door underneath the platform you just dropped down from.

Door; This is the one you're looking for.

Inside this new room, equip the ANTIQUE GUN and shoot and the glass capsule in front of you in order to pickup the MAGAZINE CARTRIDGE.

Glass capsule; It is located in the centre of the room. The glass can be blown out with explosives as well as shot.
Item; Pickup the MAGAZINE CARTRIDGE once the glass is gone.

There are various other items to pickup in this room;

Item; SMALL AQUALUNG.
Item; 10 CREDITS.
Item; EMERGENCY SPRAY.
Item; The RED KEY CARD.
Item; 10 CREDITS (again).
Item; 5 CREDITS.

After collecting the items, return to the previous room. Head to the front end of the vehicle and down the stairs which sit against the wall.

Note that there are more robots in this room. If you choose to take them out, the first two robots both leave behind 10 CREDITS each, however these robots re-spawn every time you return to this area so it is a waste of resources killing them as they can easily be avoided.

Hugging the wall to the left as coming down the stairs, you will come to some silver double doors.

Double doors; Head inside.

Once inside, there are two items to pickup;

Item; 10 CREDITS are on the pool table to Acarno's left as you enter the room.
Item; 2 DECOYS are on the floor behind the bar.

There is a vending machine at one end of the room where you can buy a JUICE CAN, but don’t bother using it unless you are desperately low on health and have no recovery items in your inventory. Exit the Bar using the double doors at the opposite end to which you entered.

On the wall opposite to you, locate the door to the Women’s WC.

Women's WC door; Head inside.
Item; Once inside, collect the MAGAZINE CARTRIDGE on the sink and exit.

Once in the hallway again, head to Acarno’s right hugging the wall and you will come to the Men’s WC.

Men's WC door; Head inside.
Item; Pickup the EXTINGUISHING SPRAY from the sink and exit the room.

Once in the hallway again, head towards the gold double doors directly in front of you.

Gold doors; Use the GOLD KEY CARD to gain entry.
Item; Once inside, head to Acarno's left and pickup 5 GRENADES on the floor.
Item; At the opposite end of the room you can pickup the SPIKED BOOTS on the floor.
Item; In the centre of the room is a chair with a skull emblem on it - climb up and collect the ARMY JACKET. Exit the room.

Back in the hallway, hug the wall on the left and you will come to a set of red double doors.

Red doors; Use the RED KEY CARD.
Item; On the floor in front of you, pickup the 20 YR OLD SUIT.
Item; Turn around and pickup the SILVER KEY CARD on the computer keyboard.
Item; 20 CREDITS are on the floor.
Item; Make your way through to the open door and pickup 3 TIME BOMBS on the floor
Item; Finally, grab the 10 CREDITS on the bed before exiting back to the hallway.

Turn right upon exiting the room and hug the wall until you come to 3 sets of silver double doors.

Item; There are 3 idential sets of these double doors next to eachother - all of which can be opened using the SILVER KEY CARD.

Inside of the first room you’ll get; INSULATOR BOOTS, 2 AIR PACKS, 2 CREDITS, 2 CREDITS and 1 CREDIT.

In the second room, you’ll get; 2 CREDITS, 3 TIME BOMBS, 3 BURST BOMBS, 10 CREDITS and 1 CREDIT.

In the third room you’ll get; 1 CREDIT, LASER KNIFE, 3 GRENADES, 1 CREDIT2 CREDITS and LEATHER BOOTS.

After cleaning out the rooms, head into the corridor and follow it around until you see the “KEEP OUT” sign. There is an opening next to the sign with an item on the ground.

Item; Pickup the ENERGY PACK on the floor close to the wall.

Head back to the stairs where you entered this floor.

Laser gate; Acarno will notice this gate, triggering a prompt as you walk past (if you haven't already). The next goal is to open the gate.

Using the stairs opposite the laser gate, go down a level. In the next room, collect the item on the floor when you reach the bottom of the stairs.

Item; Pickup the EMERGENCY SPRAY.

Head down another set of stairs. Access the inventory and equip the INSULATOR BOOTS – note that the floor underneath the giant cogs in the centre of the room is dangerous and should be avoided as it electrocutes you unless you have these boots equipped.

The aim here is to navigate across the rotating cogs to get across to the platform on the opposite side of the room.

Where to start; Jump on top of the box with the green "CAUTION" sign on.
First jump; Jump to the first cog to Acarno's right.
Second jump; From the first cog, you can easily jump up to the next.
Third jump; Jump across to the platform with multiple windows facing you.

Make your way along to the end of the platform and pickup and pickup the item on the ground.

Item; Pickup the ENERGY PACK.

If you interact with the door at the end of the platform it will tell you there are two ways to enter – either use the SILVER KEY CARD on the door, or equip the ANTIQUE GUN and take out each window for additional CP before jumping through.

Inside the Power Room the are some items to collect, as well as a switch to press;

Item; There is an ENERGY PACK on the ground to your left as you enter the room.
Item; On the floor in the centre of the room is a MAGAZINE CARTRIDGE.
Item; At the opposite end of the room there is a box with a glass front - equip the ANTIQUE GUN and shoot the glass, allowing you to pickup 5 GRENADES.
Control panel; By examining the middle console you are able to turn off the power to the laser gate on the floor above.

Exit the Power Room, ensure the INSULATOR BOOTS are still equipped and make your way carefully down to the floor underneath the cogs to collect some items.

Item; There is one EMERGENCY SPRAY in one corner of the floor.
Item; There is a second EMERGENCY SPRAY in one opposite corner of the room.

Make your way back to the stairs you first entered this room and head back up to the floor above (with the red, gold and silver doors).

Turn left at the top of the stairs and walk through the newly-opened laser gate and into the Storage Room.

Storage room; No more gate. Head inside.
Item; Pick up the MAGAZINE CARTRIDGE found on the keyboard to your left as you enter.
Item; Collect the PAGODA MAP from in-between the shelves labelled "E" and "F".

Equip the LASER KNIFE before exiting the room.

Cut scene

Prepare for the easiest boss in video game history – Gumbo the robot. Approach him with your LASER KNIFE equipped, and attack – you will notice that every time you hit Gumbo he becomes stun-locked and is unable to move. If he does manage to attack you by punching, the damage sustained shouldn’t be too bad. The robot should explode after nine or ten blows, signalling victory.

Cut scene

You need to take out five or six of the enemy Flymobiles before they inflict too much damage on you. You should be able to take a few hits and progress without any real difficulty – simply wait until the enemies stop in mid-air to shoot them, rather than trying to hit moving targets.

Cut scene

Episode 1; Complete.