The team is now prepared for their attack on the Pagoda, which requires you to locate and defeat three separate robots protecting the Pagoda known as "Guardians".
[Episode 2] First Guarding System: Chris
Summary
The team is now prepared for their attack on the Pagoda, which requires you to locate and defeat three separate robots protecting the Pagoda known as “Guardians”.
To start things off we’re going to take down the first Guardian with Chris.
Following the cut scene, you’ll take control of Acarno after arriving at the Pagoda. As prompted on-screen, you can switch between the three playable characters in this Episode (Acarno, Chris and Navarro) by accessing the inventory and using the TRANSCEIVER (found on the first inventory tab).
Another thing worth mentioning before going any further is that the inventory system is universal across all three characters – meaning; if you pickup an item as one character, you can switch to another character and use that item.
The objective is to defeat the three Guarding Systems protecting the Pagoda. Each playable character must take out their respective Guarding System. We’re going to complete the missions in the same order they were assigned moments earlier, starting with Chris – use the TRANSCEIVER and select “Call Chris”.
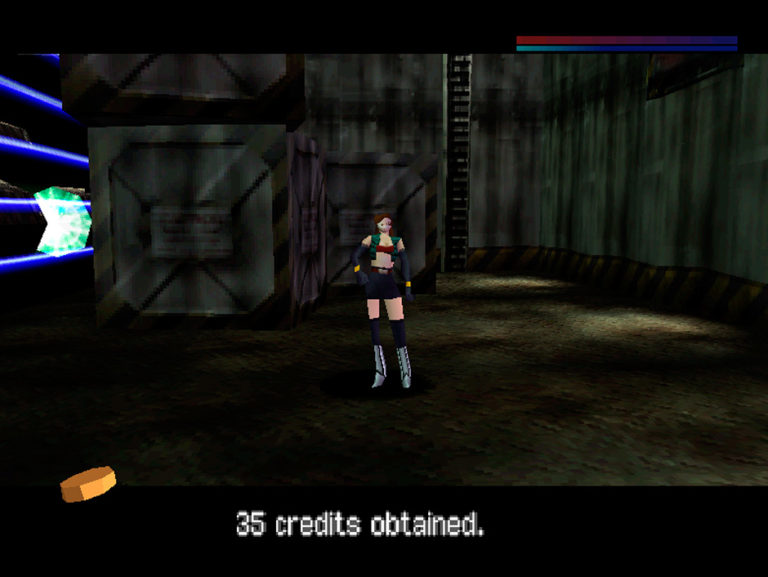
After switching to Chris, pick up the item on the ground.
Item; There is 35 CREDITS on the ground to your left.
On the wall at the end of the room is a control panel. Press the switch.
Control panel; Walk up and interact to turn off the large laser gate across the room.
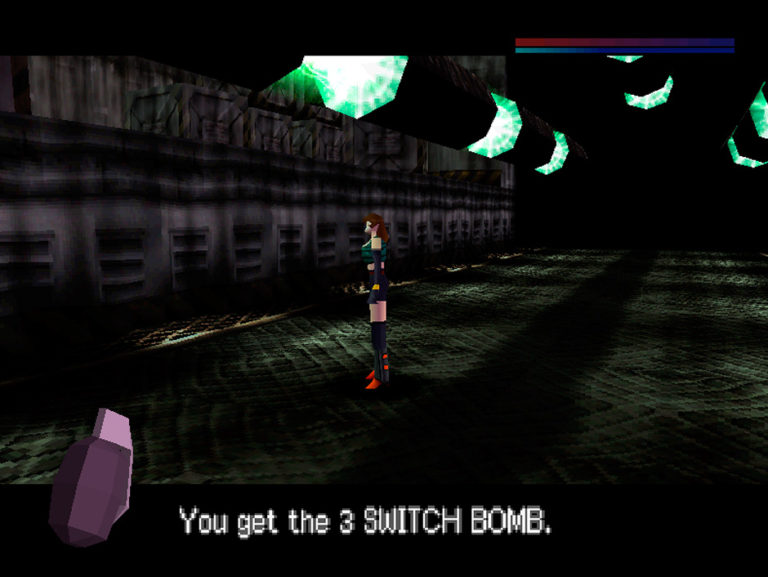
Equip the INSULATOR BOOTS and ensure the GRAVITY CONTROLLER is turned on. Head down to the lower floor, underneath the illuminated green pipes and pick up the item as you make your way across to the opposite side.
Item; Pick up the 3 SWITCH BOMBS on the ground.
Climb out onto the platform on the opposite side to the one you started and pickup 2 BUST BOMBS, 50 CREDITS and 2 TIME BOMBS. Facing middle of the room, drop back to the lower floor and head left into the dark opening.
In this next corridor there are slow-moving mechanical spiders, which can be avoided with relative ease, although feel free to exterminate them for additional CP. Head straight down the hallway, collecting two items on your way.
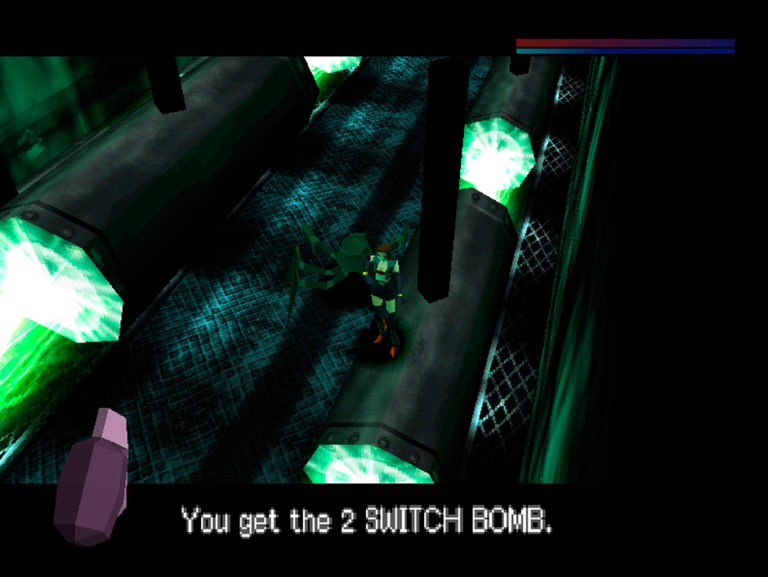
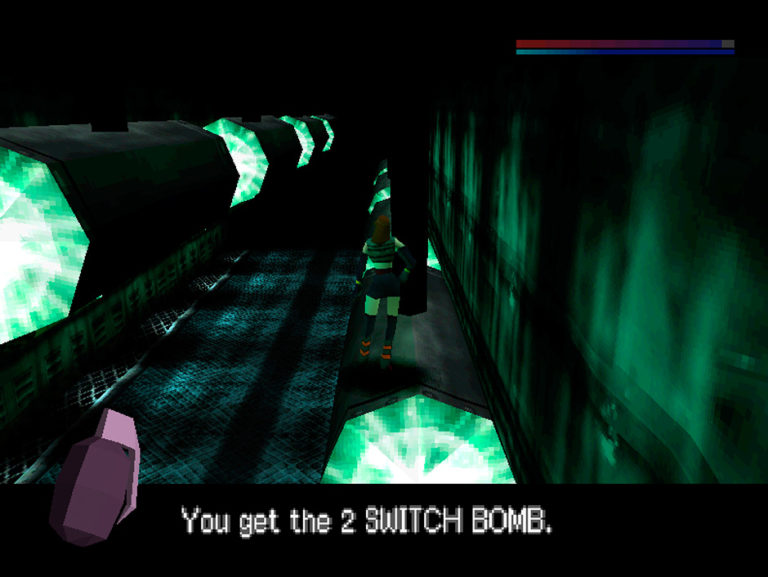
Item; The first item can be found on the illuminated overhead green pipe on the left of the room about a quarter of the way along the hallway. Pickup 2 SWITCH BOMBS.
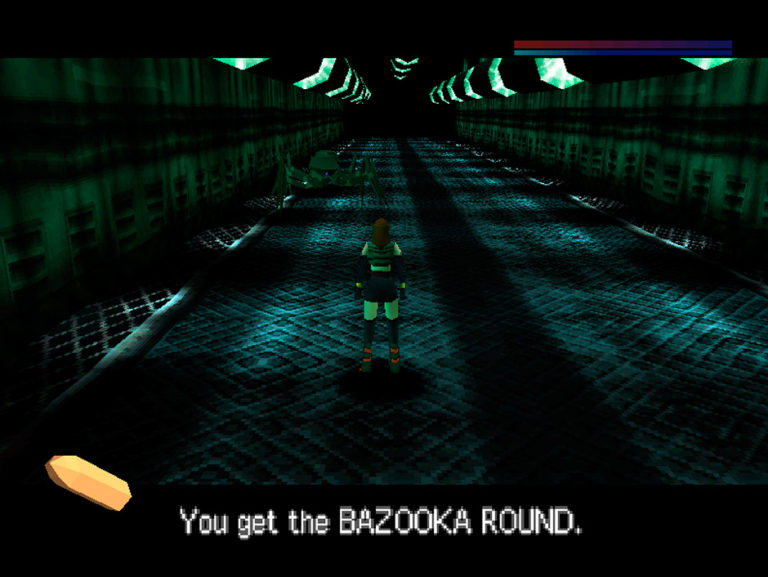
Item; The second item is on the floor about halfway along the hallway and is a BAZOOKA ROUND.
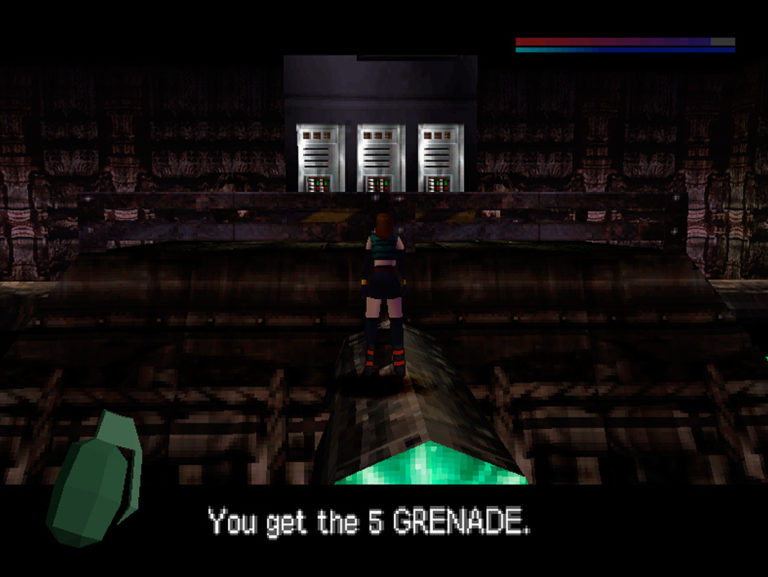
After collecting both items, head through the dark opening at the end of the hallway. In the next room, destroy or avoid more mechanical spiders. Above you are three more illuminated green pipes. Jump up to the pipe on either your left and right, and then to the central higher pipe and pickup an item.
Item; The 5 GRENADES are easy enough to spot.
Continue along the pipe and hop over the fence and onto the platform to pick up another item.
Item; Collect the 750 CREDITS.
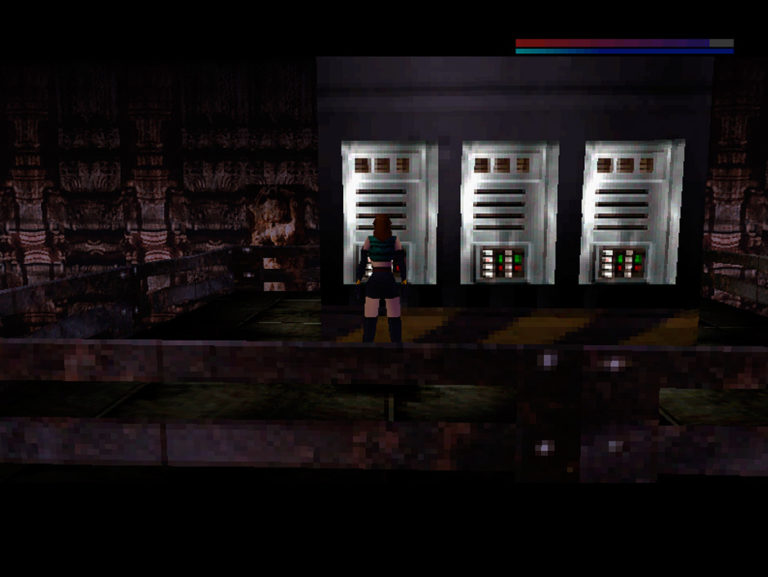
Locate the three silver control panels on the platform.
Control panel; Only the panel on the left can be used, and turns off a laser gate below.
Drop back down to the floor via the pipes, avoiding the deadly drop which surrounds the platform you’re stood on. Back on the ground, head through to the area you just opened. In the hallway there are another two items to collect and more mechanical spiders to either destory or avoid.
Item; The first item in this hallway is another BAZOOKA ROUND and is on the floor about a quarter of the way down the hallway.
Item; The second item is 2 SWICTH BOMBS and is on the right overhead pipe towards the end of the hallway.
Proceed through the dark opening at the end of the hallway. Once inside the new room, turn right and pickup another item.
Item; The EMERGENCY SPRAY is on the ground close to the wall.
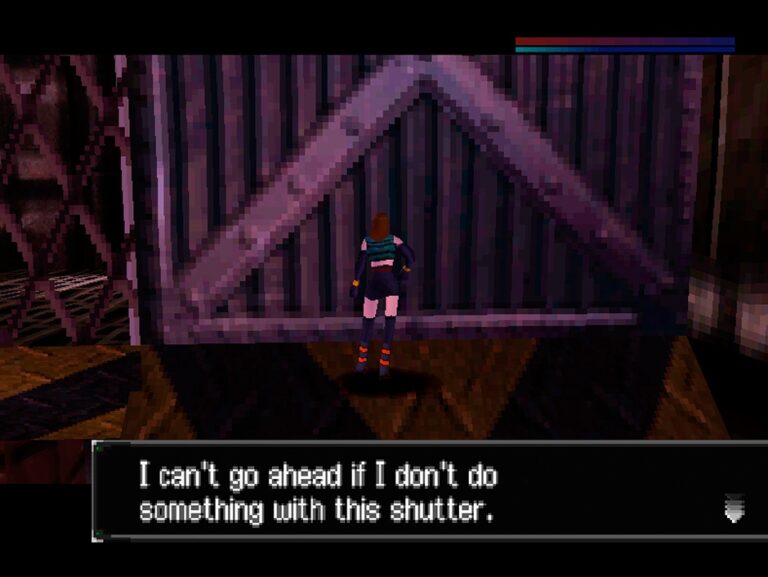
At the top of each of the two ramps in this room are explodable doors. Use your explosive of choice to take one of them out to reveal a new room.
Door; Select your explosive of choice and stand well clear.
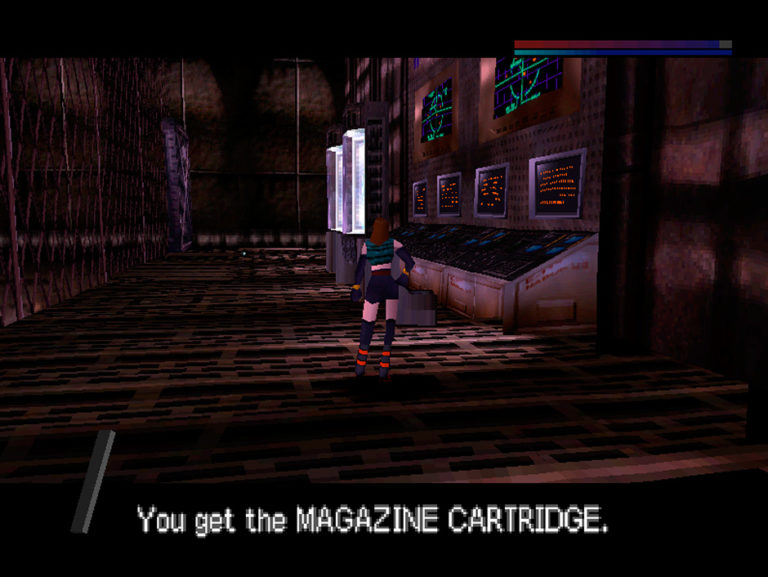
Item; Once inside the new area, pickup the MAGAZINE CARDTRIDGE on the floor.
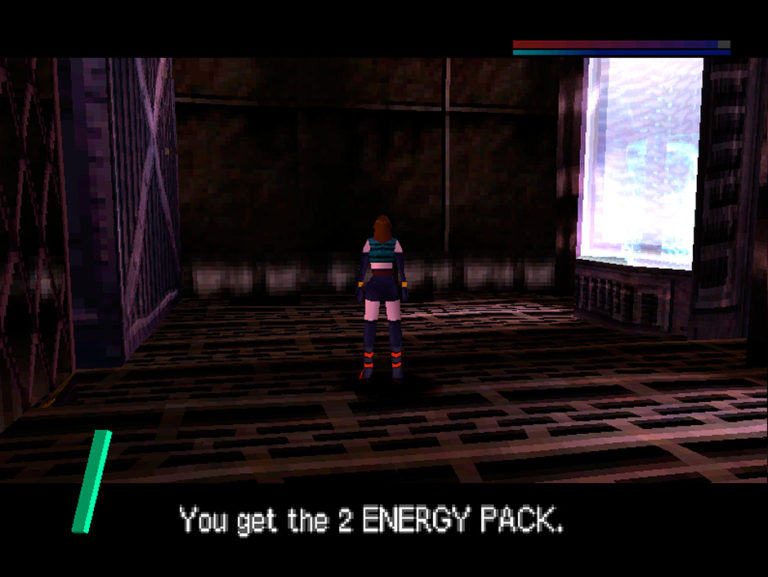
Item; There is also 2 ENERGY PACKS on the ground.
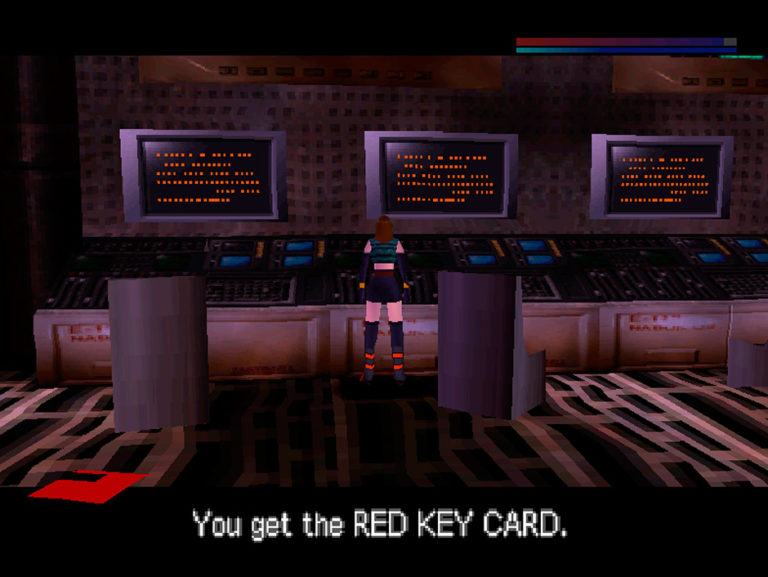
Item; The third item is the RED KEY CARD, which can be found on the control panel in the middle of the wall.
Switches; There are two levers on the wall. Interact with them both.
Head back down the ramp and through the dark opening into the corridor. Head straight down the corridor and back into the room with the high up central platform and three silver control panels. Once again, make your way up via the overhead green pipes. Once on the platform, head down the walkway towards the double doors.
Double doors; Head through.
In the centre of the next room is cylindrical platform, surrounded by a number of platforms which go up and down at different times – these can now be walked across after flipping the two recent switches. You need to make your way to the central cylindrical platform.
Start by making your way to the edge of the (non-moving) balcony you start on, and jump across to the first moving platform on the right – time it so that you jump as the platform nears it’s lowest point. Be careful not to fall between the platforms as this will kill you.
Run towards the central platform in the room and jump across when the platform you are jumping from nears it’s highest point. There are now some items to collect;
Item; First, pickup the 50 CREDITS on the central platform.
Where to jump next; After picking up the 50 CREDITS, continue left around the central platform and you will notice two items on top of the moving platforms. Carefully jump across to the platform when it nears it's lowest point.
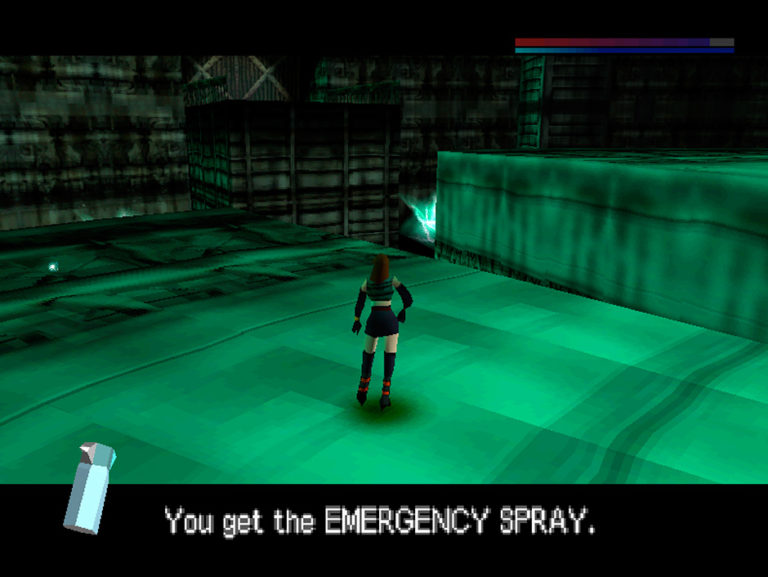
Item; Pick up the EMERGENCY SPRAY.
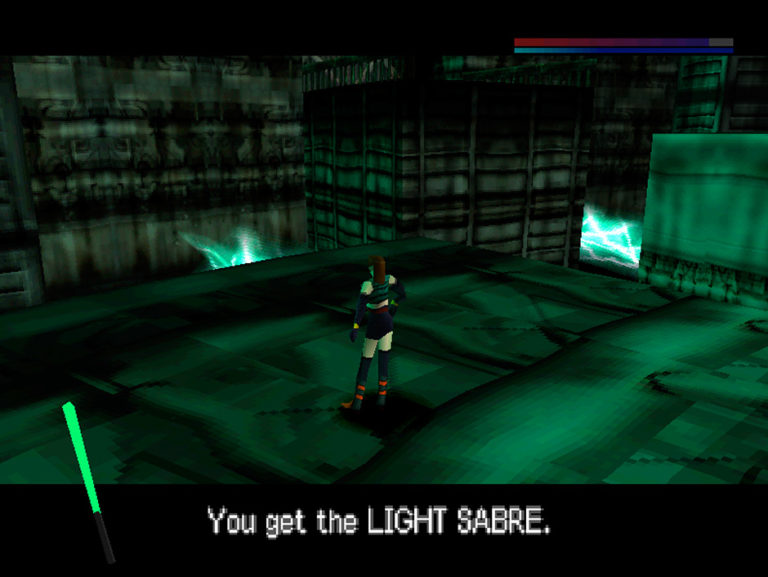
Item; Also pick up the LIGHT SABRE from the same moving platform.
Exit the room; After collecting the items, jump to the platform at the opposite side of the room you entered (from the moving platform you're currently stood on).
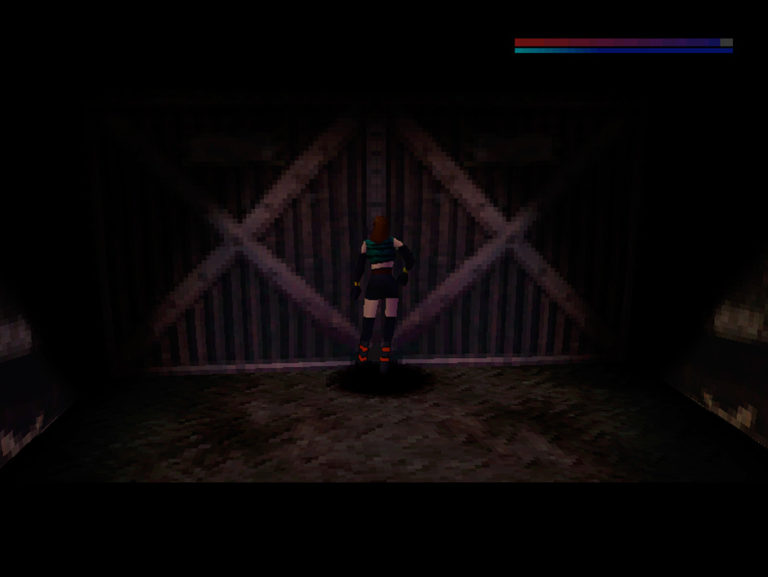
Approach the double doors ahead. You will need to use the RED KEY CARD to gain access.
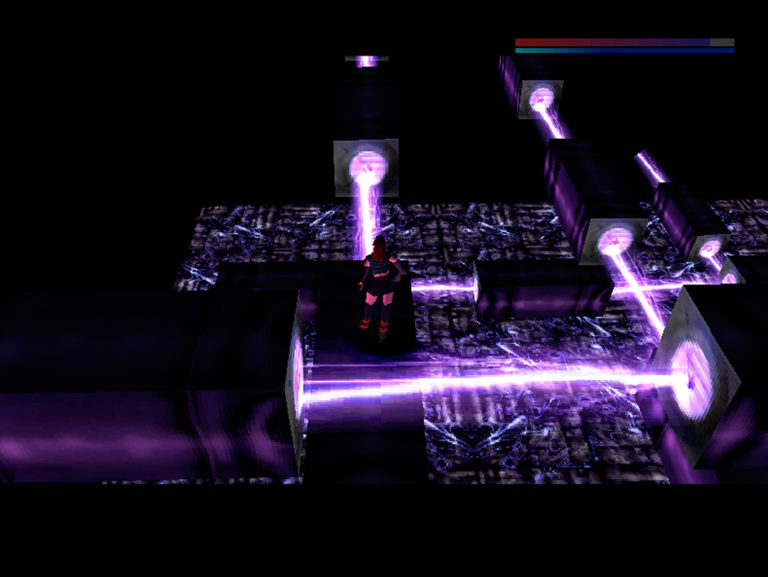
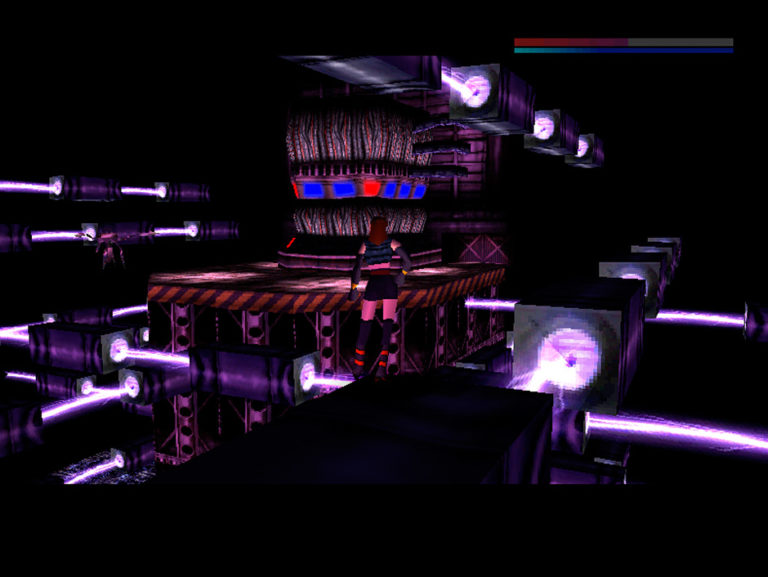
Take note that in the next room, touching the floor in this room will kill you however with the INSULATOR BOOTS equipped, you are able to walk over the purple lasers and the pipes through which they pass.
There are a couple of items dotted around to pick up on the various crossing pipes. Follow the directions below, starting from the point at which you entered the room;
Step 1; Head forwards onto the central-most pipe, and stop above the below pipe which intersects. Make the short drop down to your left.
Step 2; Head along the pipe towards the outer wall of the room and you will see another pipe which is underneath and intersects the one you're on. By rotating the camera, you should be able to spot the first item below. Drop down in order to pick it up.
Step 3; Collect the 2 EMERGENCY SPRAYS on the pipe. Next, you'll need to jump upwards to the highest set of pipes. This is not too difficult with the GRAVITY CONTROLLER turned on.
Step 4; When you finally reach the highest set of pipes, head towards the item which can be spotted on the opposite side of the room to the one you started. Pick up the EMERGENCY SPRAY.
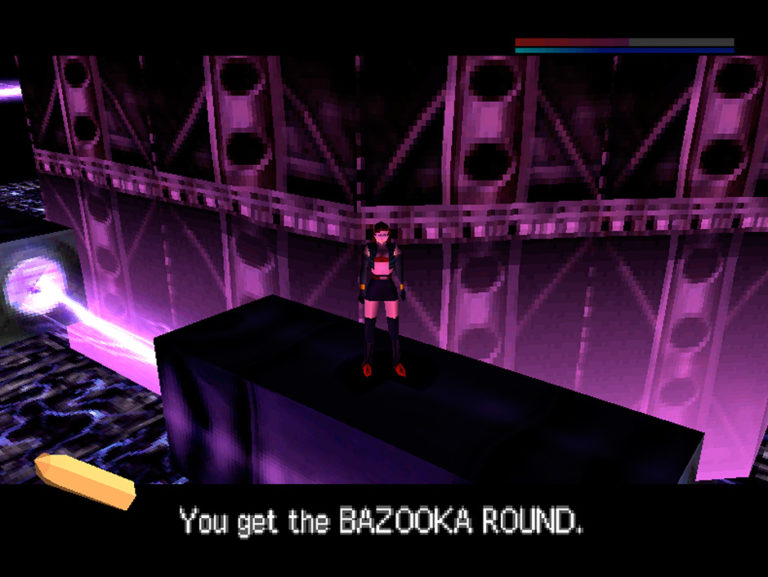
Step 5; Again using the pipes, carefully drop back down to the lowest set. The next item can be found on the pipe which runs across the room, in front of the large central platform. Pick up the BAZOOKA ROUND.
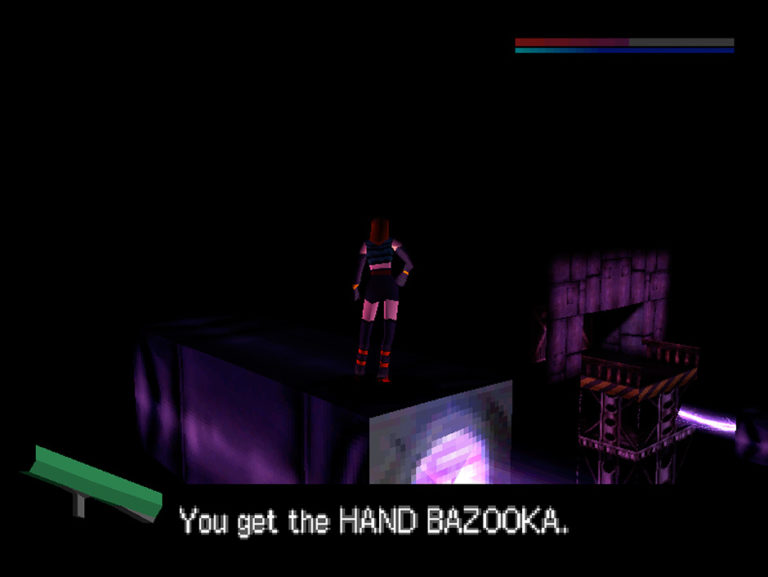
Step 6; The final item to collect requires you to make your way back up to the second-highest set of pipes. The HAND BAZOOKA can be found close to the side of the room you entered through, and is on the closest set of pipes to the wall.
Step 7; Now all of the items have been collected, turn to face the large platform in the centre of the room. Make your way across by once again jumping carefully along the pipes.
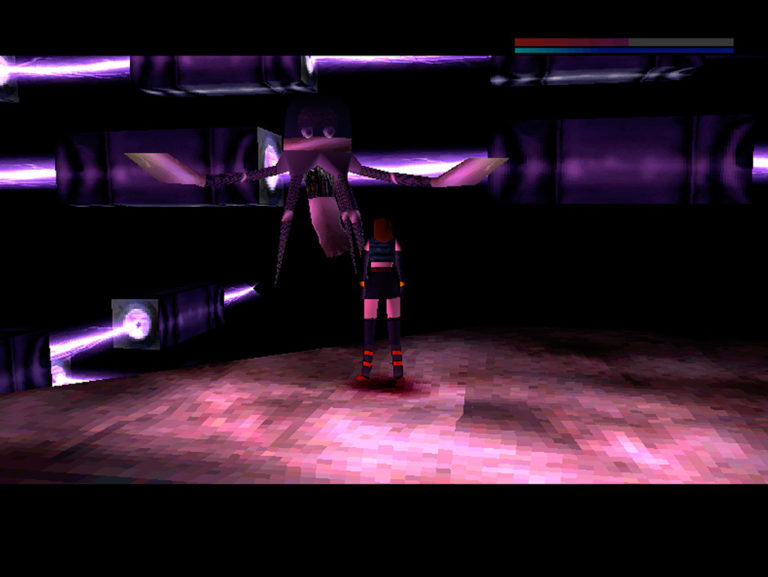
When finally on top of the platform (on which you face off with the first Guardian), 3 EMERGENCY SPRAYS can be found – you should have more than enough items to win this fight, so maybe wait until you’ve taken out the Guardian before picking these up. Ensure your health is at full and equip the LIGHT SABRE.
The first Guardian; Annoyingly airborne.
The Guardian has it has the ability to fly and hover, in addition to three attacks. The first attack is a simple melee you get hit with if you are too close. The second is a flamethrower attack, which does inflict a bit of damage but can easily be jumped over. The third attack is it’s most powerful; a type of thunder rain – however this attack can be avoided by taking cover underneath doorway arch which sits up against the wall. You’ll know when this attack is coming as the Guardian will make a noticeable noise and begin to rotate in the air.
The best way to kill the Guardian is to lure it above the platform on which you’re standing so that you can jump from directly underneath and swipe your LIGHT SABRE at it. While you may have to wait for the Guardian to hover to a point it is possible to attack it from (and will likely sustain some damage in the process), it shouldn’t take more than six or seven hits before the Guardian is no more. This is far easier than using guns.
One final thing to note is that this Guardian will leave behind 2000 CREDITS. With this in mind, try to deal your final blow while the Guardian is above the platform on which you’re stood, otherwise you’ll need to make your way down to the hazardous floor below to collect the item – which can be hard to spot down there. Finally, make your way over to the double doors.
Chris' mission complete; After reaching and interacting with the double doors, you must call Navarro using the TRANSCEIVER to find and defeat the second Guardian.