Episode 8: Higher & Higher
Summary
Following a brief reunion with some old friends and having successfully navigated the first stage of Episode 8, it’s time to take on the second of the three stages – which involves some tricky jumping around.
To progress past this room you must make your way to the top of the structure in the centre of the room, avoiding the many hazards on the way while not falling to your death.
Using the Laser Gun (which can be picked up on the floor in this room) you must shoot the floating blue crystals to activate new moving platforms that assist your ascent.
Episode Sections
- Final Break Down
- Higher & Higher
- The Final Room
Video
Before starting this section you should be aware this room involves some infuriating jumping and you will die. A lot. Regular saves are strongly advised. From the point you enter the room, head right towards the item on the floor.


Now is a good time to save your progress, as the difficulty ramps up further during this next section in addition to a fall from this height resulting in certain death.


Now would be another good time to save your progress, as once again the difficulty is about to go up a notch.


Now would be another good time to save, as the final section is a bitch.


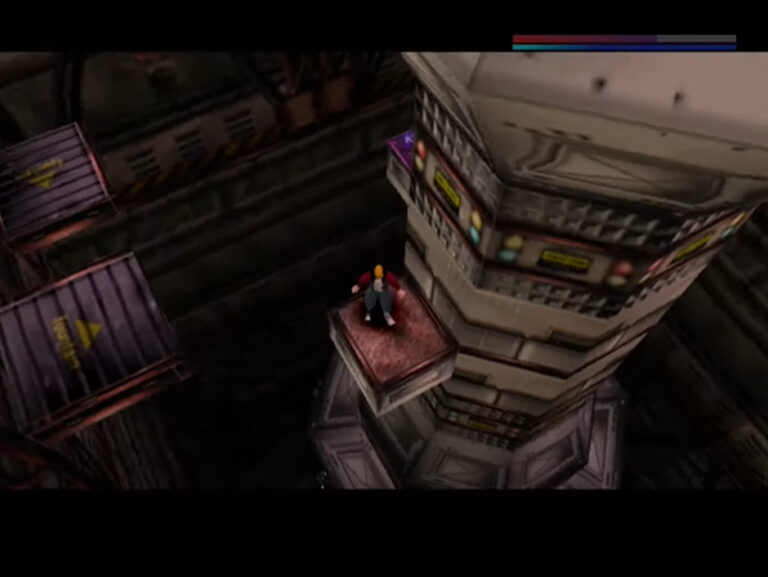
There is a small platform in the corner of the room moving up and down - you will need to jump onto this platform when it reaches it's lowest point before jumping diagonally towards the centre of the room and grabbing onto a final small orange platform which is not moving.
Note that the purple platform will shock you and quickly drain your energy (regardless of your footwear). Before jumping, ensure you have a full health bar and are aware of your destination.


If you land on a ledge and hear a noticable 'tick' sound, this means the platform will explode - you should however have enough time to jump back to the central platform and try again.
