You’ll now once again have control of Acarno, who is now back atop the cliff next to the bridge – note that the GRAVITY CONTROLLER is now operational, so make sure it’s turned on. There are now several items to collect;
Items; There is a HEAT PACK on both of the bridge posts in front of you - stand underneath and jump upwards to collect them.
Cross safely; Cross the bridge, taking care to avoid the missing panels. There is one further panel which will drop from the bridge as you cross - you should be able to tell which panel it is due to it being slightly darker than the rest.
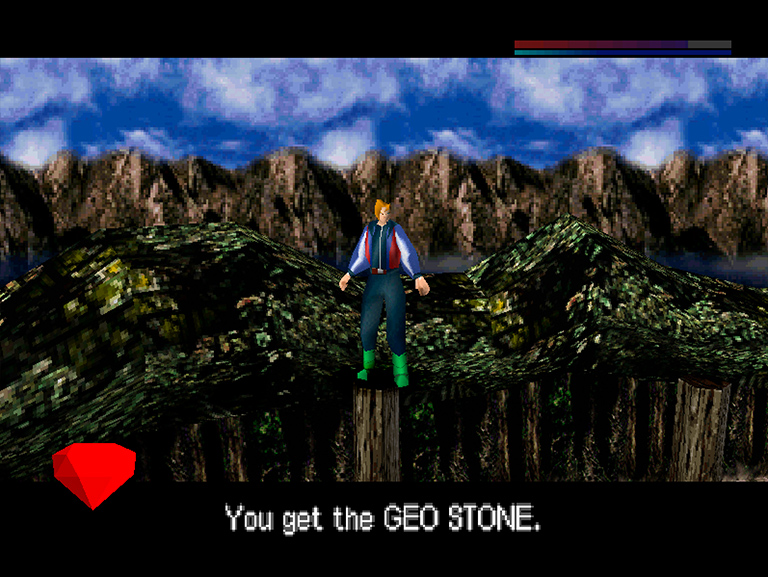
Item; There is a GEO STONE on top of the bridge post on your left.
Item; On top of the fourth and final bridge post is an EMERALD.
Items; On the ground below the stones you just collected is 5 GRENADES, 5 SWITCH BOMBS and 5 TIME BOMBS.
Head towards the opening through which you originally entered this area. Head forwards and then left before continuing on through to the windy area that you fought against the roboplant in earlier. Fighting against the wind, head through this area and return to the cliff side – approach the tree directly in front of you as you move towards the cliff edge.
Item; By jumping onto the raised area next to the tree, you are able to jump onto the top of the tree and pick up a GEO STONE. Drop down from the tree and approach the edge of the cliff.
Item; Standing at the edge of the cliff and looking down towards the water below you should see a ledge sticking out. Drop down and you will notice a small alcove in the side of the cliff, inside of which there is an OIL CARTRIDGE, MACHINE GUN CARTRIDGE, 1000 CREDITS and a DIAMOND. You should easily be able to jump back up from this ledge.
Head back up the passage you came from, returning to the windy area. Proceed forwards with the wind and back into the passage connecting you to the bridge area. Head forwards, passing the opening on the right and into a new area. Take a few steps forwards to trigger some speech from Acarno;
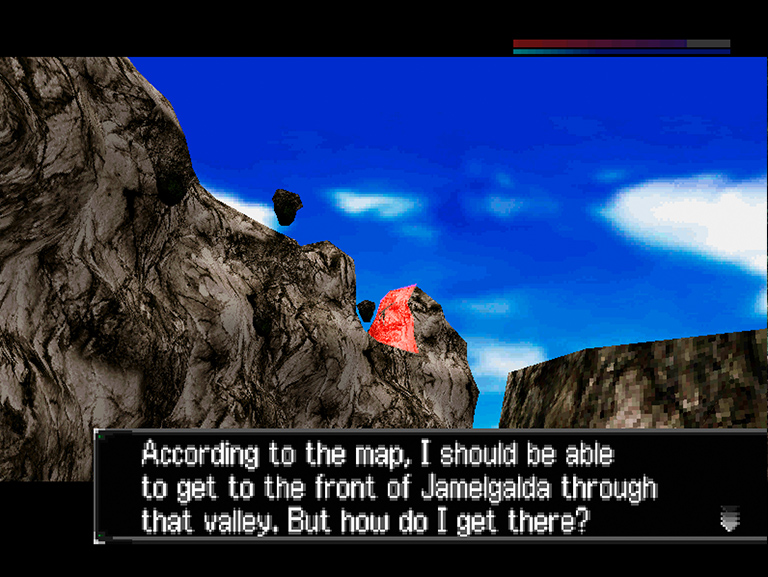
The valley; Acarno indicates the direction you need to head in.
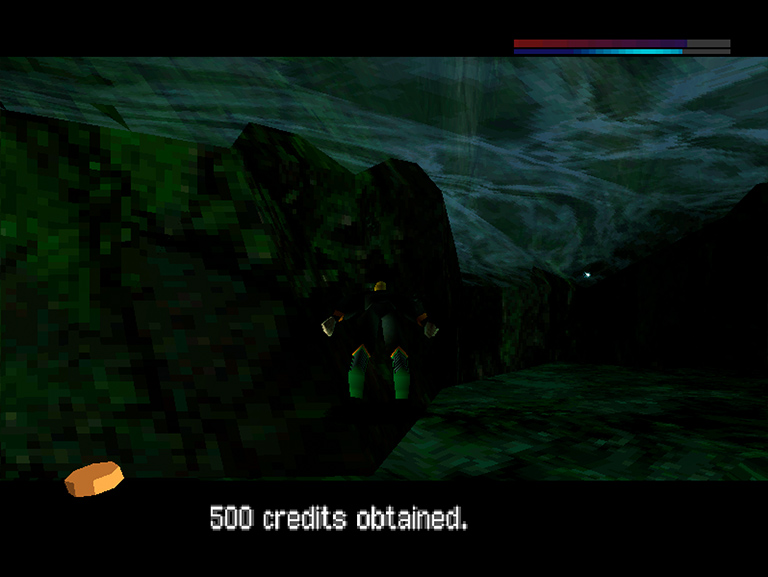
Items; Jump into the water and swim to the other end of the channel and you will see two items floating beneath the surface - collect two lots of 500 CREDITS. Return to the point at which you started your swim and exit the water.
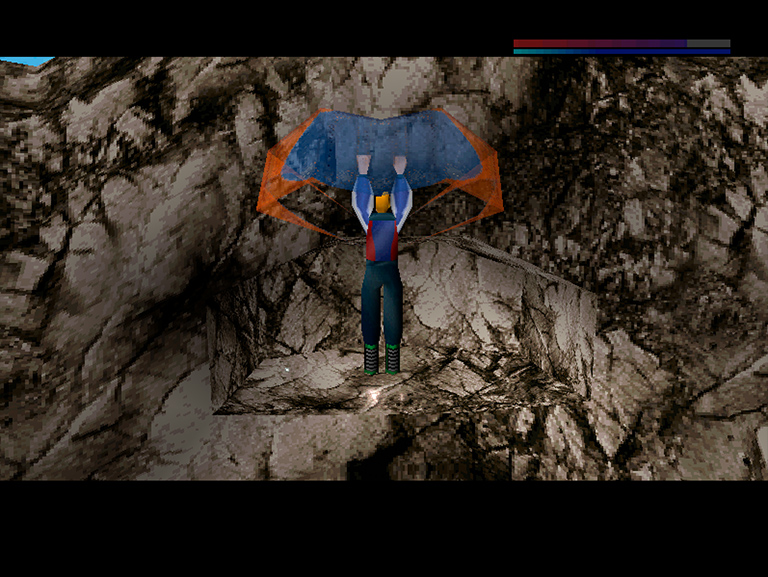
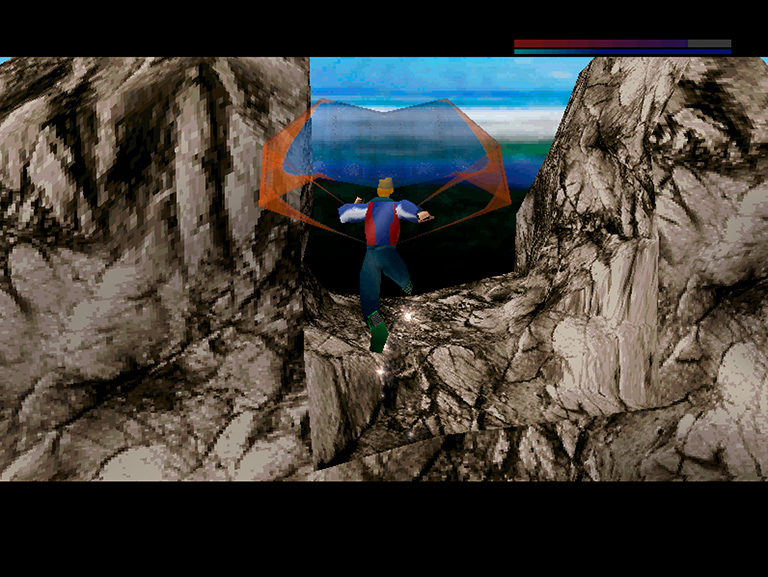
Secret ledge; If you haven't already, equip the PARA JACKET. You will have no doubt noticed the loud wind in the valley - this allows you to ascend using the parachute on your jacket by simply holding the jump button, and releasing when you want to descend. Heading upwards, you will notice an opening in the side of the cliff with some clearly visible items. Glide over using your parachute and land on the ledge.
Items; Pick up the ENERGY PACK, DIAMOND and MAGAZINE CARTRIDGE on the ledge. Turn around and jump off of the ledge, using your parachute to glide left and continue through the valley.
Opening; As you continue to glide, you will notice an opening on the same side of the valley as the ledge you just picked up items from. Land on the ground in front of the opening and continue forwards on foot.
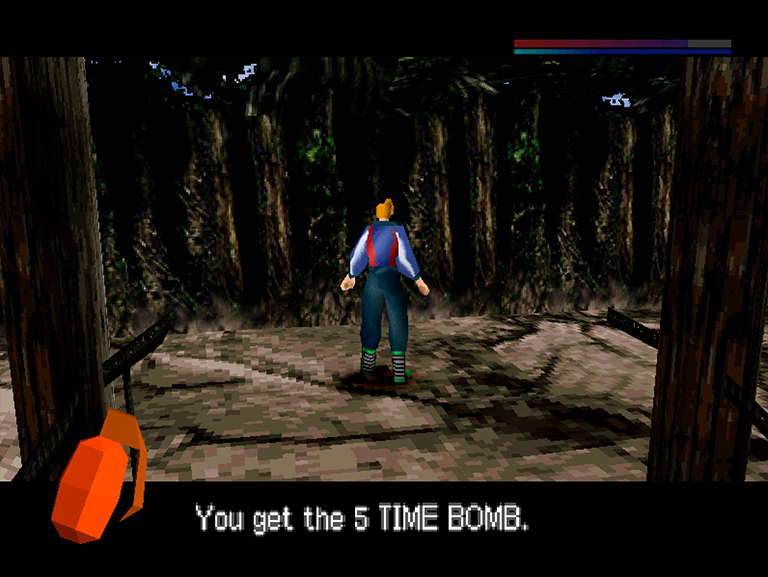
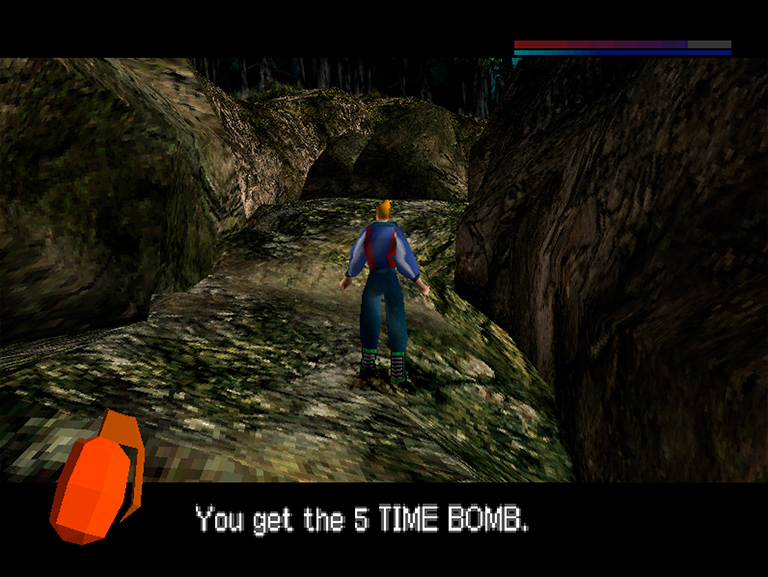
Item; In the next area, pick up the 5 TIME BOMBS on the ground to your right.
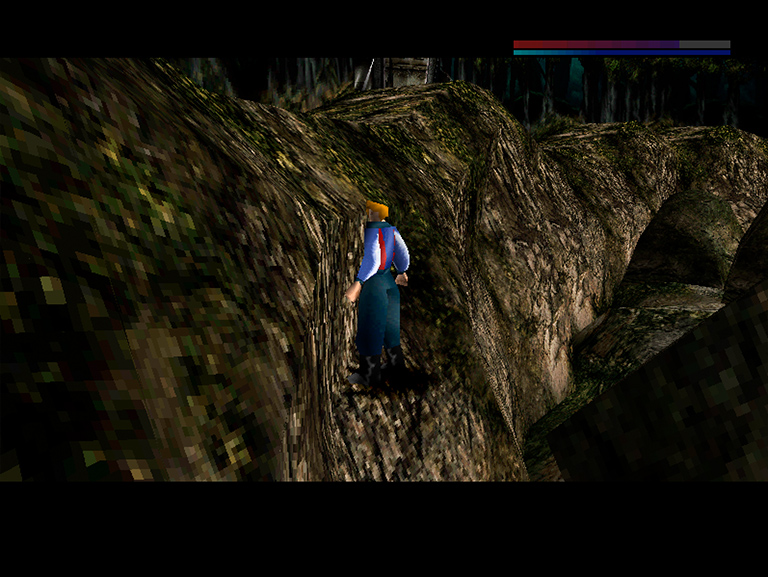
After picking up the 5 TIME BOMBS, you have a decision to make about how to progress through this next section, which contains several sets of laser cannons that fire at you from both sides of the passage;
If you are not concerned about achieving maximum CP (affecting your ability to unlock the hidden Episode 8), then simply run ahead jumping over the rocks until you reach the clearing at the end of this section – which is easy enough, although you must avoid all lasers as they will kill you with one hit.
If you are aiming for maximum CP, you can help your cause by taking out each of the laser cannons – this is of course much trickier and may require a few attempts so it may be worth saving your progress to avoid having to keep restarting (costing CP). Equip the SPIKED BOOTS and follow the steps below to take out the cannons;
1; Access the inventory and take out a DECOY, but don't set it down yet. Head forwards and the cannons will begin shooting. Set your DECOY within their range and turn around to jump on the rock you just went past.
2; Jump to the cliff side, jump up again and head along to the base of the first turret - set an explosive (or two for good measure) and then retreat behind the big rock on the ground that you used to advance upwards before the DECOY expires.
3; Back on the ground, face the direction of the cannons and hug the cliff-side on the right - this will protect you from fire as you walk forwards. Once you come to the big rock blocking your path, turn to face the cliff-side and you will be able to get to the top by jumping and pulling yourself up.
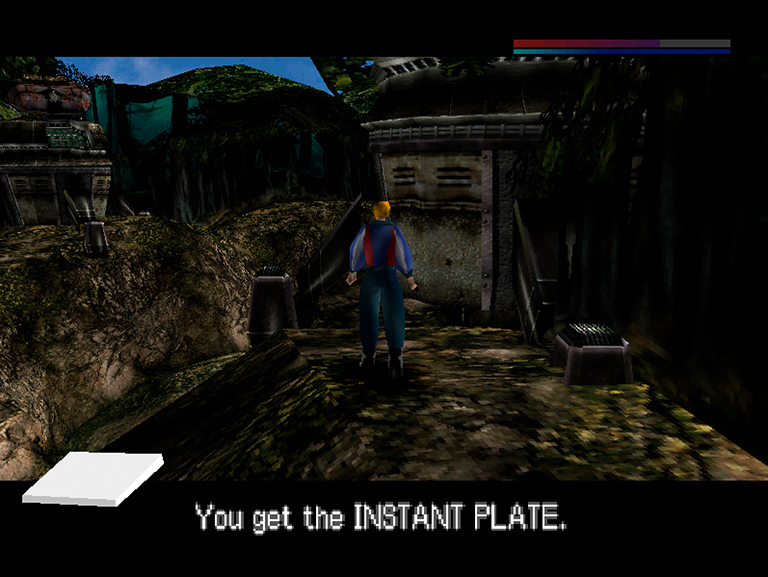
4; You can pick up the item on the ground knowing you are safe from fire. Pick up the INSTANT PLATE before setting off more explosives at the base of the second turret.
5; Staying on top of the cliff, take out another DECOY and continue along past where there turret was previously and you will notice the third and final cannon start firing from the opposite cliff top. Set the DECOY before picking up the INSTANT PLATE on the ground.
6. While the DECOY is still active, head towards the cliff on which the third turret is situated and (providing you're wearing the SPIKED BOOTS) you'll be able to simply jump and scale the cliff-side, allowing you to place more explosives to take out the remaining cannon.
7; Continue along the cliff top past the large rocks on the ground before dropping to the floor and picking up the 5 GRENADES. Finally, advance forwards into the clearing.
In the next area, approach the edge of the cliff.
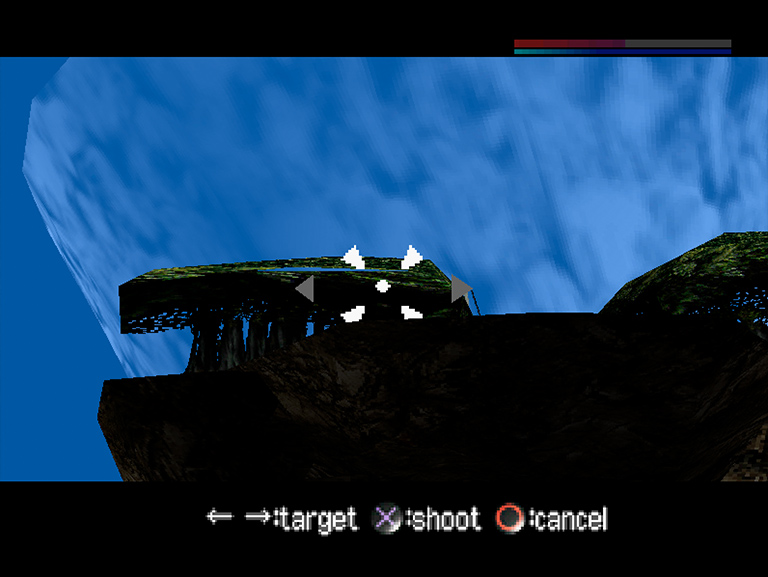
Aim; Use the HOOK SHOT to get across the canyon. Be sure to grab the ledge as you land to avoid falling with the crumbling edge of the cliff.
Item; Head forwards between the trees and pick up 2 FREEZE PACKS on the ground.
Item; There is also 2 DECOYS on the ground a few steps away.
Item; Head to the end of the passage between the trees and go right. Carefully navigating the narrow cliff edge, pick up the MAGAZINE CARTRIDGE.
Item; Continue along the cliff edge and pick up 10 SWITCH BOMBS.
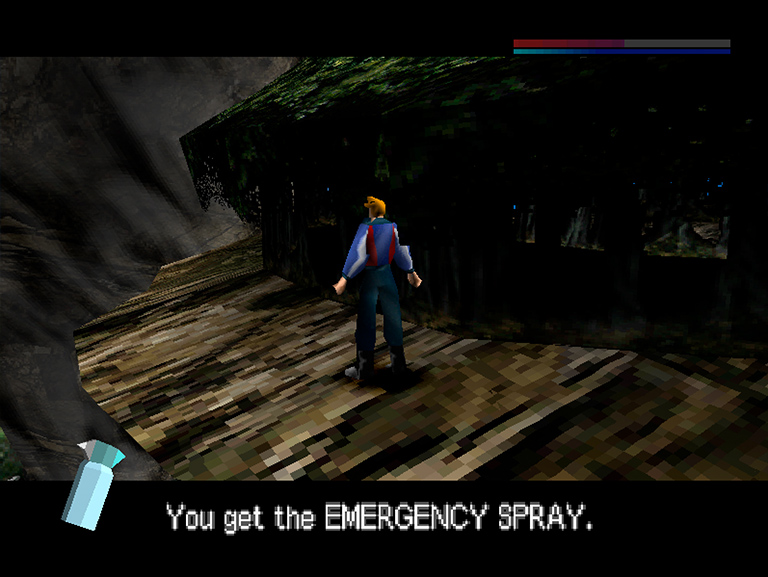
Item; Continue along the cliff edge and the around to the opposite side and pick up the EMERGENCY SPRAY.
Item; Continue forwards and pick up the BAZOOKA ROUND. Continue along the cliff edge and turn to face the giant wall of air. Ensuring the PARA JACKET is equipped, jump directly into it. This will help propel you upwards, while your parachute allows you to glide across to the next cliff top.
On top of the final cliff, equip the BIG MAGNUM and take a few steps forward towards the building in front of you.
Cut scene
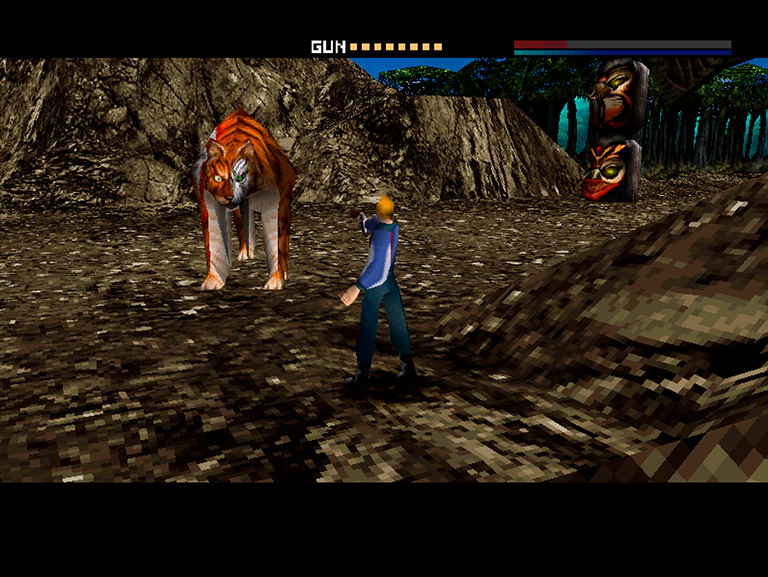
After being shown the tiger, you regain control of Acarno. Walk towards the sign on which the tiger is stood – once the music kicks in, he will jump down and try to attack you.
Boss; The Sabre-toothed Tiger is easily taken out.
The enemy can be taken out with six to eight shots using the BIG MAGNUM. As with previous bosses, the tiger is not too difficult to kill as he is so slow. The only attack to be aware of is the tiger running towards you and lunging.
Cut scene
Following the brief cut scene, there are a few items to collect before entering the prison;
Item; Pick up the DIAMOND (note, this item sometimes changes to EMERGENCY SPRAY) from the spot you killed the tiger. Next, plant a single explosive under the sign (on top of which you first saw the tiger) in order to collect some items on top.
Aim; The HOOK SHOT can also be used if you are low on bombs or health.
Items; Pick up 10 BURST BOMBS on each sign post and also an EMERGENCY SPRAY on top of the sign in the middle.
Drop back down to the floor once you’ve grabbed the items and head up the stairs leading to the prison building before procceding through the double doors.