[Episode 5] Investigating Jamelgalda

Following Acarno and Hosaka's successful escape from the Aqua Liberty Ballroom, the team are now in possession of the chip required to work the Hull Drive. Now all they have to do is locate it - that is until Hosaka reveals he already knows it's whereabouts.

[Episode 5] Investigating Jamelgalda

Summary

Following Acarno and Hosaka’s successful escape from the Aqua Liberty Ballroom, the team are now in possession of the chip required to work the Hull Drive. Now all they have to do is locate it – that is until Hosaka reveals he already knows it’s whereabouts.

Although the team are shocked as Hosaka alludes to knowing more than he is willing to share at this point, Navarro and Raz get to work preparing the Hull Drive for use.

Hosaka also reveals to Acarno and Chris that he is aware of the location Dr. Veltor Curtis is currently being held; the world’s most impenetrable prison, Jamelgalda. Thankfully Hosaka has a plan to rescue Dr. Curtis while preparation of the Hull Drive continues.

Before heading to the jungle – as always – there are some things to do in East Edge.

Video

Disc 2; You'll need to insert the second disc to continue.

Cut scene

Its time to find some information on Jamelgalda before you can progress – begin by interacting with Hosaka who will offer up some further information when you select “Yes”;

Hosaka; He will tell you to get better prepared and find an old acquaintance of his who previously worked as a guard at Jamelgalda.
Exit; Leave the room after your interaction with Hosaka via the door in the corner which reads "God Speed You!".

Cut scene

You will now emerge in the church. Note there is another robot situated just next to the elevator where you can check your game progress (just like the robot outside D-NA Bar). There are a couple of items to collect in the church;

Aim; Use the HOOK SHOT to gain access to the upper balcony. Note you will not be charged any CP for using your the HOOK SHOT in East Edge City, unlike during the rest of the game. Be careful not to catch yourself on the various fires.
Item; Examine the hologram at the end of the balcony to get an EMERALD. Jump back down to the ground (with the SHOCK ABSORBER boots equipped) and repeat the same process of using the HOOK SHOT to gain access to the opposite balcony.
Item; Collect a second EMERALD from another idential hologram. Jump back down to the ground with the SHOCK ABSORBER boots still equipped.

Exit the church via the big doors at the front of the building and emerge once again in East Edge City. Follow the directions below to complete a few tasks;

1; Starting at the Church Entrance, head towards the screen.
2; You're now at Basilica Intersection. Head towards the top of the screen.
3; Arrive at Shop Street. There is a Police Officer in the middle of the screen dressed in blue - interact with him and when asked if you know Hosaka, select "Oh yes".

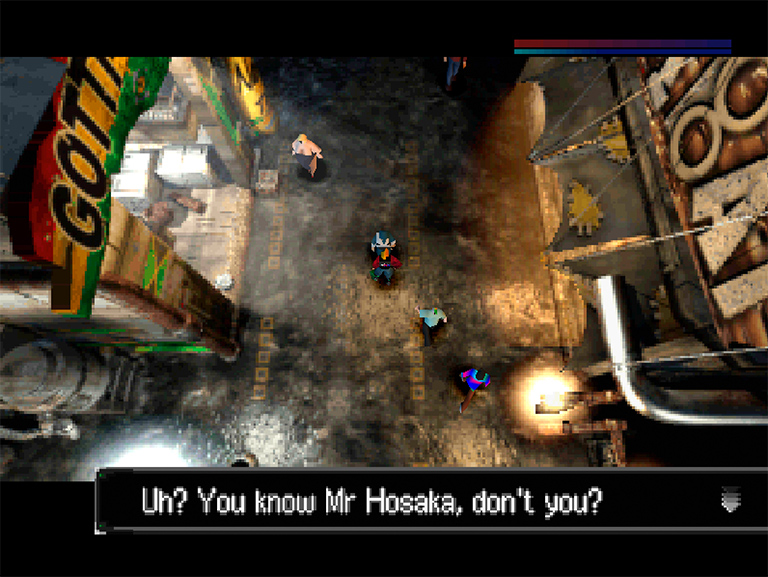
When the conversation is finished, head over to Gotti Tools (the shop on the left of the screen) and sell the two EMERALDS that you have. Finally, head towards to bottom of the screen to continue. Note that the FLAME THROWER is required to complete Episode 5, so if you don't already have it then head over to Agbati Junk on the other side of Shop Street and purchase it before going any further.
4; Back at Basilica Intersection, locate our friend Siver Otakki. This time he has a treasure hunt which can help you win an item. When you are done talking to Siver, head towards the left of the screen.
5; At Main Street, head to the bottom left of the screen.
6; You are now at (the delightfully named) Urine Alley. Head towards the camera and you will notice two circular lights attached to the wall on the right of the screen - these are the "two eyes" referred to by Siver Otakki. Examine the wall in between the two lights and get the MOONLIGHT BOOTS.

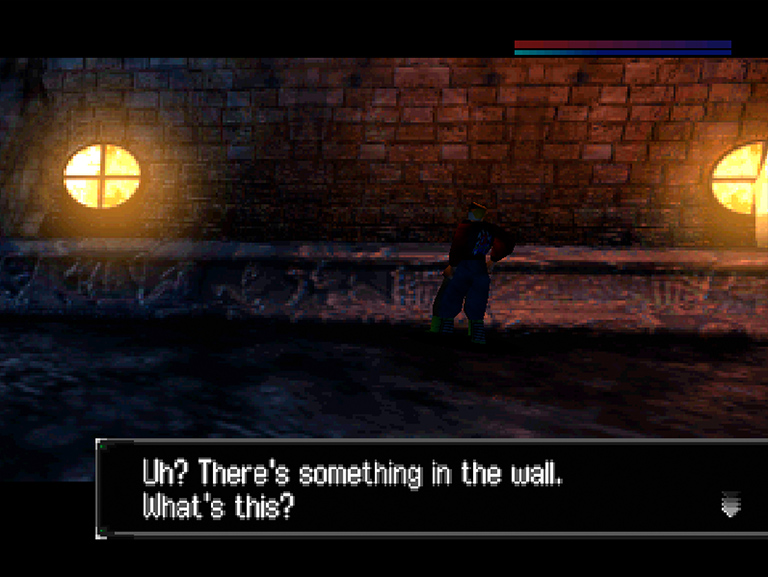
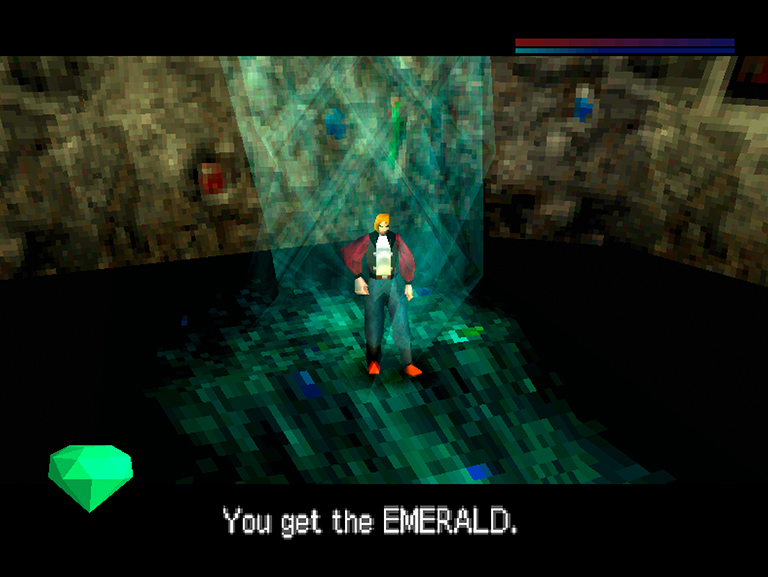
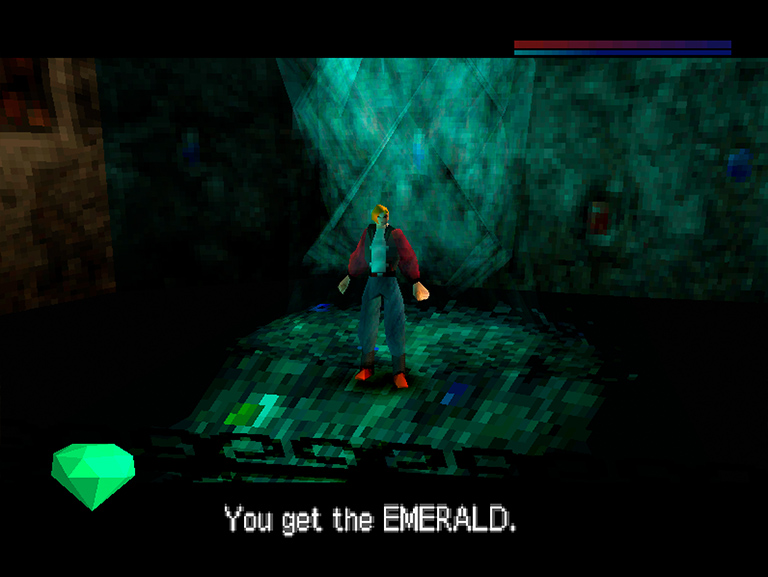
Once you have collected the item, leave Urine Alley by heading to the left of your screen, past the part of the alley you originally entered though.
7; At The End of Urine Alley, head to the top and then the left of your screen.
8; Head around the path on Ghost Wharf, and continue to the right of the screen.
9; Enter Muromachi Shop.
10; Inside Muromachi Shop head over to the door on the left of the counter which says "Gentlemen". Once you've entered the room, interact with the man behind the counter and purchase the PARA JACKET before exiting to the main room and then the shop itself, returning outside.
11; From Muromachi Shop, head to the right of your screen.
12; At Temjin Burger, head around the side of the Muromachi Shop building to the right of the screen.
13; Back at Basilica Intersection, head towards the Church at the bottom left of the screen.
14; At the Church Entrance, head towards the doors and enter the building.

Ensure you have the PARA JACKET and FLAME THROWER, or else you will not be able to complete this Episode. Once you’re back inside the Church, head towards the back of the room behind Priest Julian and use the elevator. Interact with Hosaka and select “Yes”.